Oxo Clip Reverse Engineer
Summer 2021
surface modeling
fusion 360
consumer products
What I learned
- Surface modeling and analysis techniques.
- Rendering concepts.
- Design of cosmetic surfaces.
Im. 01, final_render
A short demo of the final rendered product in the various colorways offered by OXO. Rendered in Keyshot from a model created in Fusion 360, the final model is as accurate to the real-life product as I could make it.
Im. 02, build_timelapse
The reverse engineering process started by taking measurements with a set of digital calipers of the model in-hand. A surface modeling approach was taken, building each distinct face as a separate body and blending them together using various surfacing tools.
Im. 03, initial_model_analysis
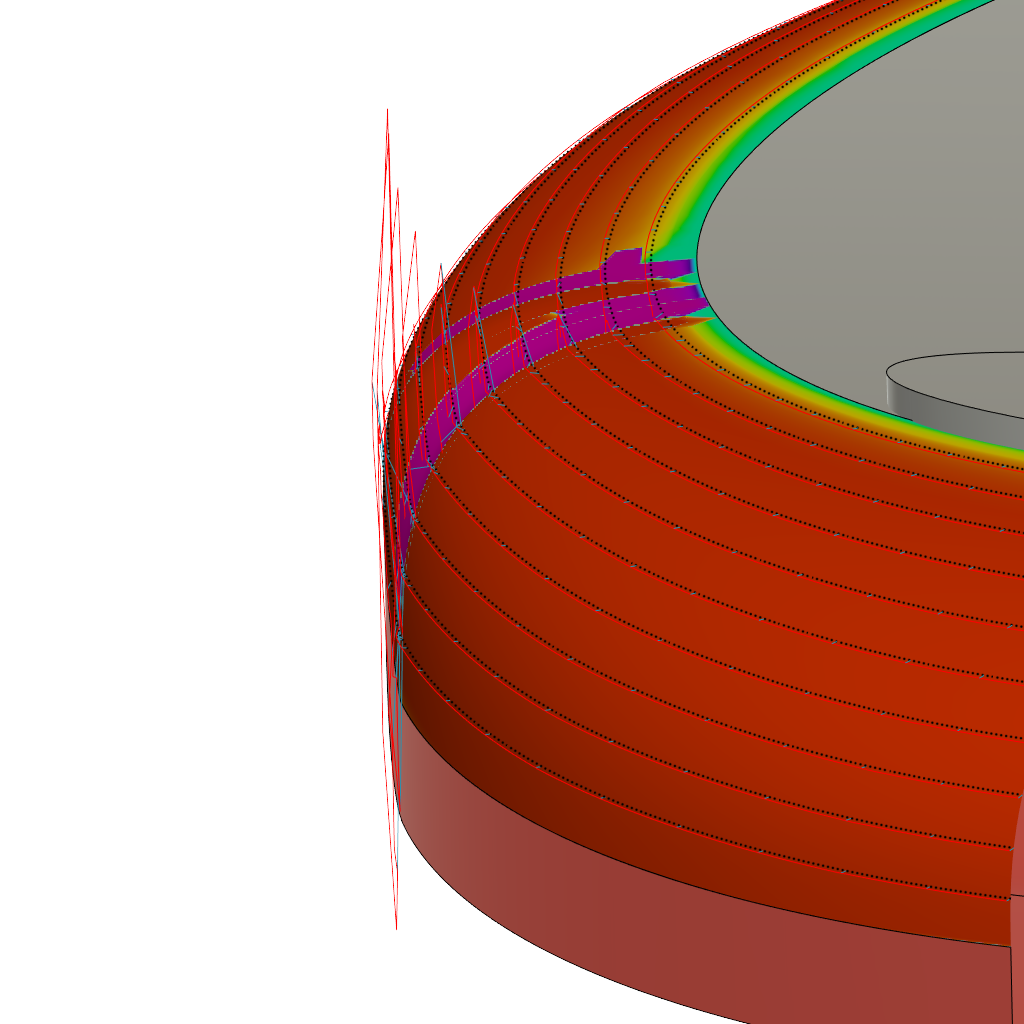
While surfacing modeling is a very powerful modeling technique, sometimes a model behaves unexpectedly on the first attempt. Luckily, there are a plethora of tools such as curvature combs, curvature maps, zebra stripes, and isoparm displays that can all help in troubleshooting potential issues. As shown here, there is a sharp spike in the curvature comb along the U vector of the surface, indicating a drastic change in curvature, which is not good for a cosmetic surface. On the next slide I’ll explain how I attempt to remedy this problem surface.
Im. 04, revised_surface_analysis
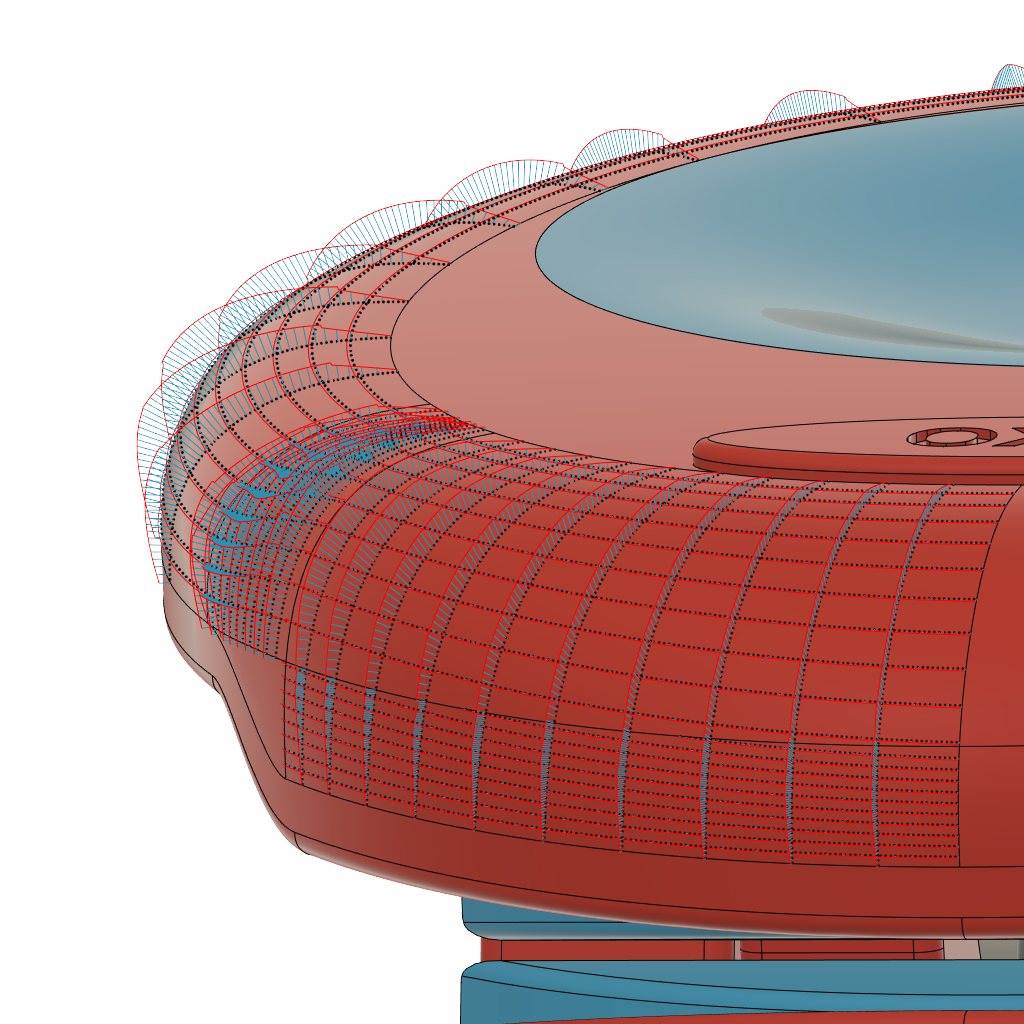
After applying the changes and tweaking build parameters, I landed on a surface that I am happy with. To verify that the surface “works”, a quick zebra stripes analysis shows a continuous blend between the mating surfaces and the surface of interest. Success!

